The Ultimate Guide to Changing Acoustic Guitar Strings
Changing the strings on your acoustic guitar is an essential skill every guitarist should master. It not only improves the sound of your instrument but also keeps it in great shape. In this guide, I'll walk you through the process step-by-step, ensuring you feel confident and ready to tackle this task. Let’s dive into the world of string changing!
Why Change Your Strings?
Before we get into the nitty-gritty of changing strings, let’s talk about why it’s important. Regularly changing your strings can dramatically improve your guitar’s sound. Fresh strings provide clarity and brightness that dull, old strings simply cannot match. I typically change my strings every two weeks, but depending on how often you play, you might want to check your strings at least once a month to determine if they need replacing.
Gather Your Tools
To get started, you need a few tools at hand. Here’s what you’ll need:
- A pack of new strings
- A string cutter
- A string winder
- A flat, stable surface to work on
- Optional: a glass of water, whiskey, or coffee, and your favorite record for a relaxing vibe
Step 1: Loosen the Strings
First things first, we need to loosen the strings. This part is actually quite fun! Start with the high E string and work your way down. As you loosen each string, take a moment to enjoy the cartoonish sound it makes. It’s a silly but satisfying part of the process.
Step 2: Cut the Old Strings
Now that the strings are loose, it’s time to cut them. Using your wire cutters, snip each string above the sound hole. I prefer to cut them one by one; it feels good to do! This is a great way to relieve any frustration you might have while changing strings.
Step 3: Remove the Bridge Pins
With the strings cut, the next step is to remove the bridge pins. These are the little pins that hold the strings in place at the bridge. Using your string winder, you can gently pull these pins out. Be careful not to lose them! I find that if I put them back in their place, I’m less likely to misplace them later.
Step 4: Unravel the Strings
After removing the bridge pins, you can unravel the ends of the strings from the tuner posts. Make sure to handle the cut strings carefully, as the ends can be sharp. I like to coil the old strings together before disposing of them to avoid getting poked later.
Step 5: Clean Your Guitar
With the strings off, take this opportunity to clean your guitar, especially the areas under the strings. Dust can accumulate in these hard-to-reach spots, so a quick wipe down is ideal. A clean guitar not only looks better but also sounds better!
Step 6: Get Your New Strings
Now it’s time for the fun part: putting on new strings! Open your package carefully—no one wants to get stabbed by a string. For this session, I’m trying out Martin retro light strings, as I believe they will enhance the tonal quality of my guitar.
Step 7: Insert the New Strings
Let’s begin with the low E string. Place the ball end of the string into the corresponding hole in the bridge. Then, insert the bridge pin while holding the ball end down with your thumb. This ensures a secure fit. Repeat this process for all the strings, making sure to follow the correct order.
Step 8: Wind the Strings
Next, we’ll attach the strings to the tuner posts. There are a couple of methods to do this, but the key is to make sure each string is wound toward the center of the headstock. Start with the low E string, passing it through the tuner post, and then pulling it tight. Begin winding while making sure the first revolution goes over the free end of the string. This helps lock it in place.
The Over-Under Method
For the lower strings (E, A, D), I recommend using the over-under method. This involves wrapping the string around the post in a way that ensures it stays secure. Keep winding until the string is tight, and don’t forget to clip off any excess string.
The Crimp Method
For the higher strings (G, B, E), you can use the crimp method. Feed the string through the tuner post, pull it tight, and then create a little bend in the string before crimping it underneath itself. This locks it into place nicely.
Step 9: Tune Your Guitar
Once all the strings are attached and tightened, it’s time to tune your guitar. It’s a good idea to stretch the strings a bit by gently bending them at the 12th fret. This helps them settle into place and reduces the likelihood of them going out of tune quickly.
Step 10: Final Checks
After stretching the strings, go ahead and tune your guitar again. Play a few chords, and keep tuning as necessary. You’ll find that new strings can take a little time to stabilize, but soon enough, you’ll have a beautifully sounding guitar.
Maintain Your Strings for Longevity
To prolong the life of your new strings, consider these tips:
- Wash your hands before playing to minimize oil and dirt transfer.
- Wipe down the strings after each session to remove grime.
- Store your guitar in a suitable environment to avoid humidity and temperature fluctuations.
Conclusion
Changing your guitar strings may seem daunting at first, but with practice, it becomes second nature. Remember to embrace the process and enjoy the transformation your guitar goes through with each new set of strings. Keep your guitar sounding its best by making string changes a regular part of your maintenance routine. Happy playing!
Check Out Fivcil Guitar
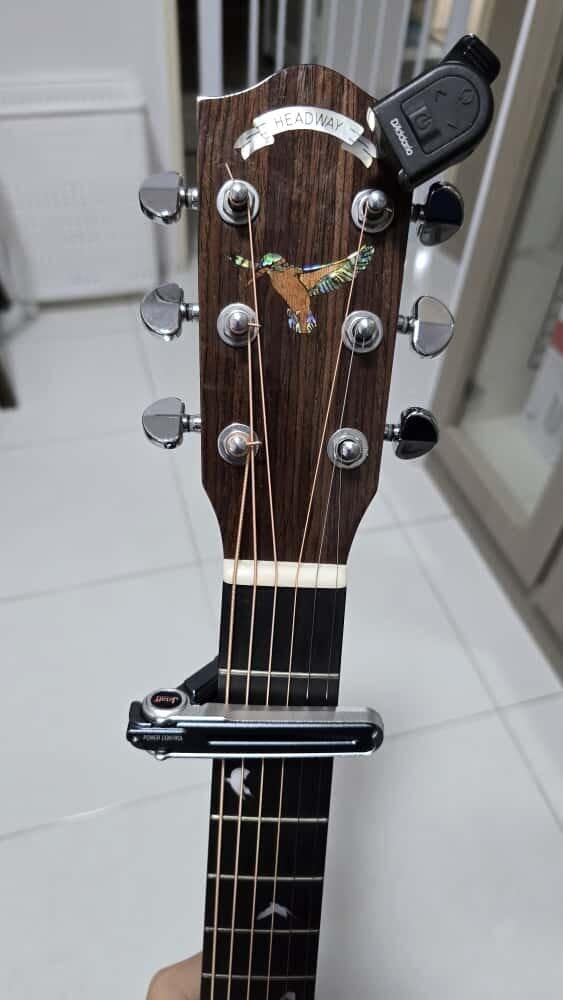
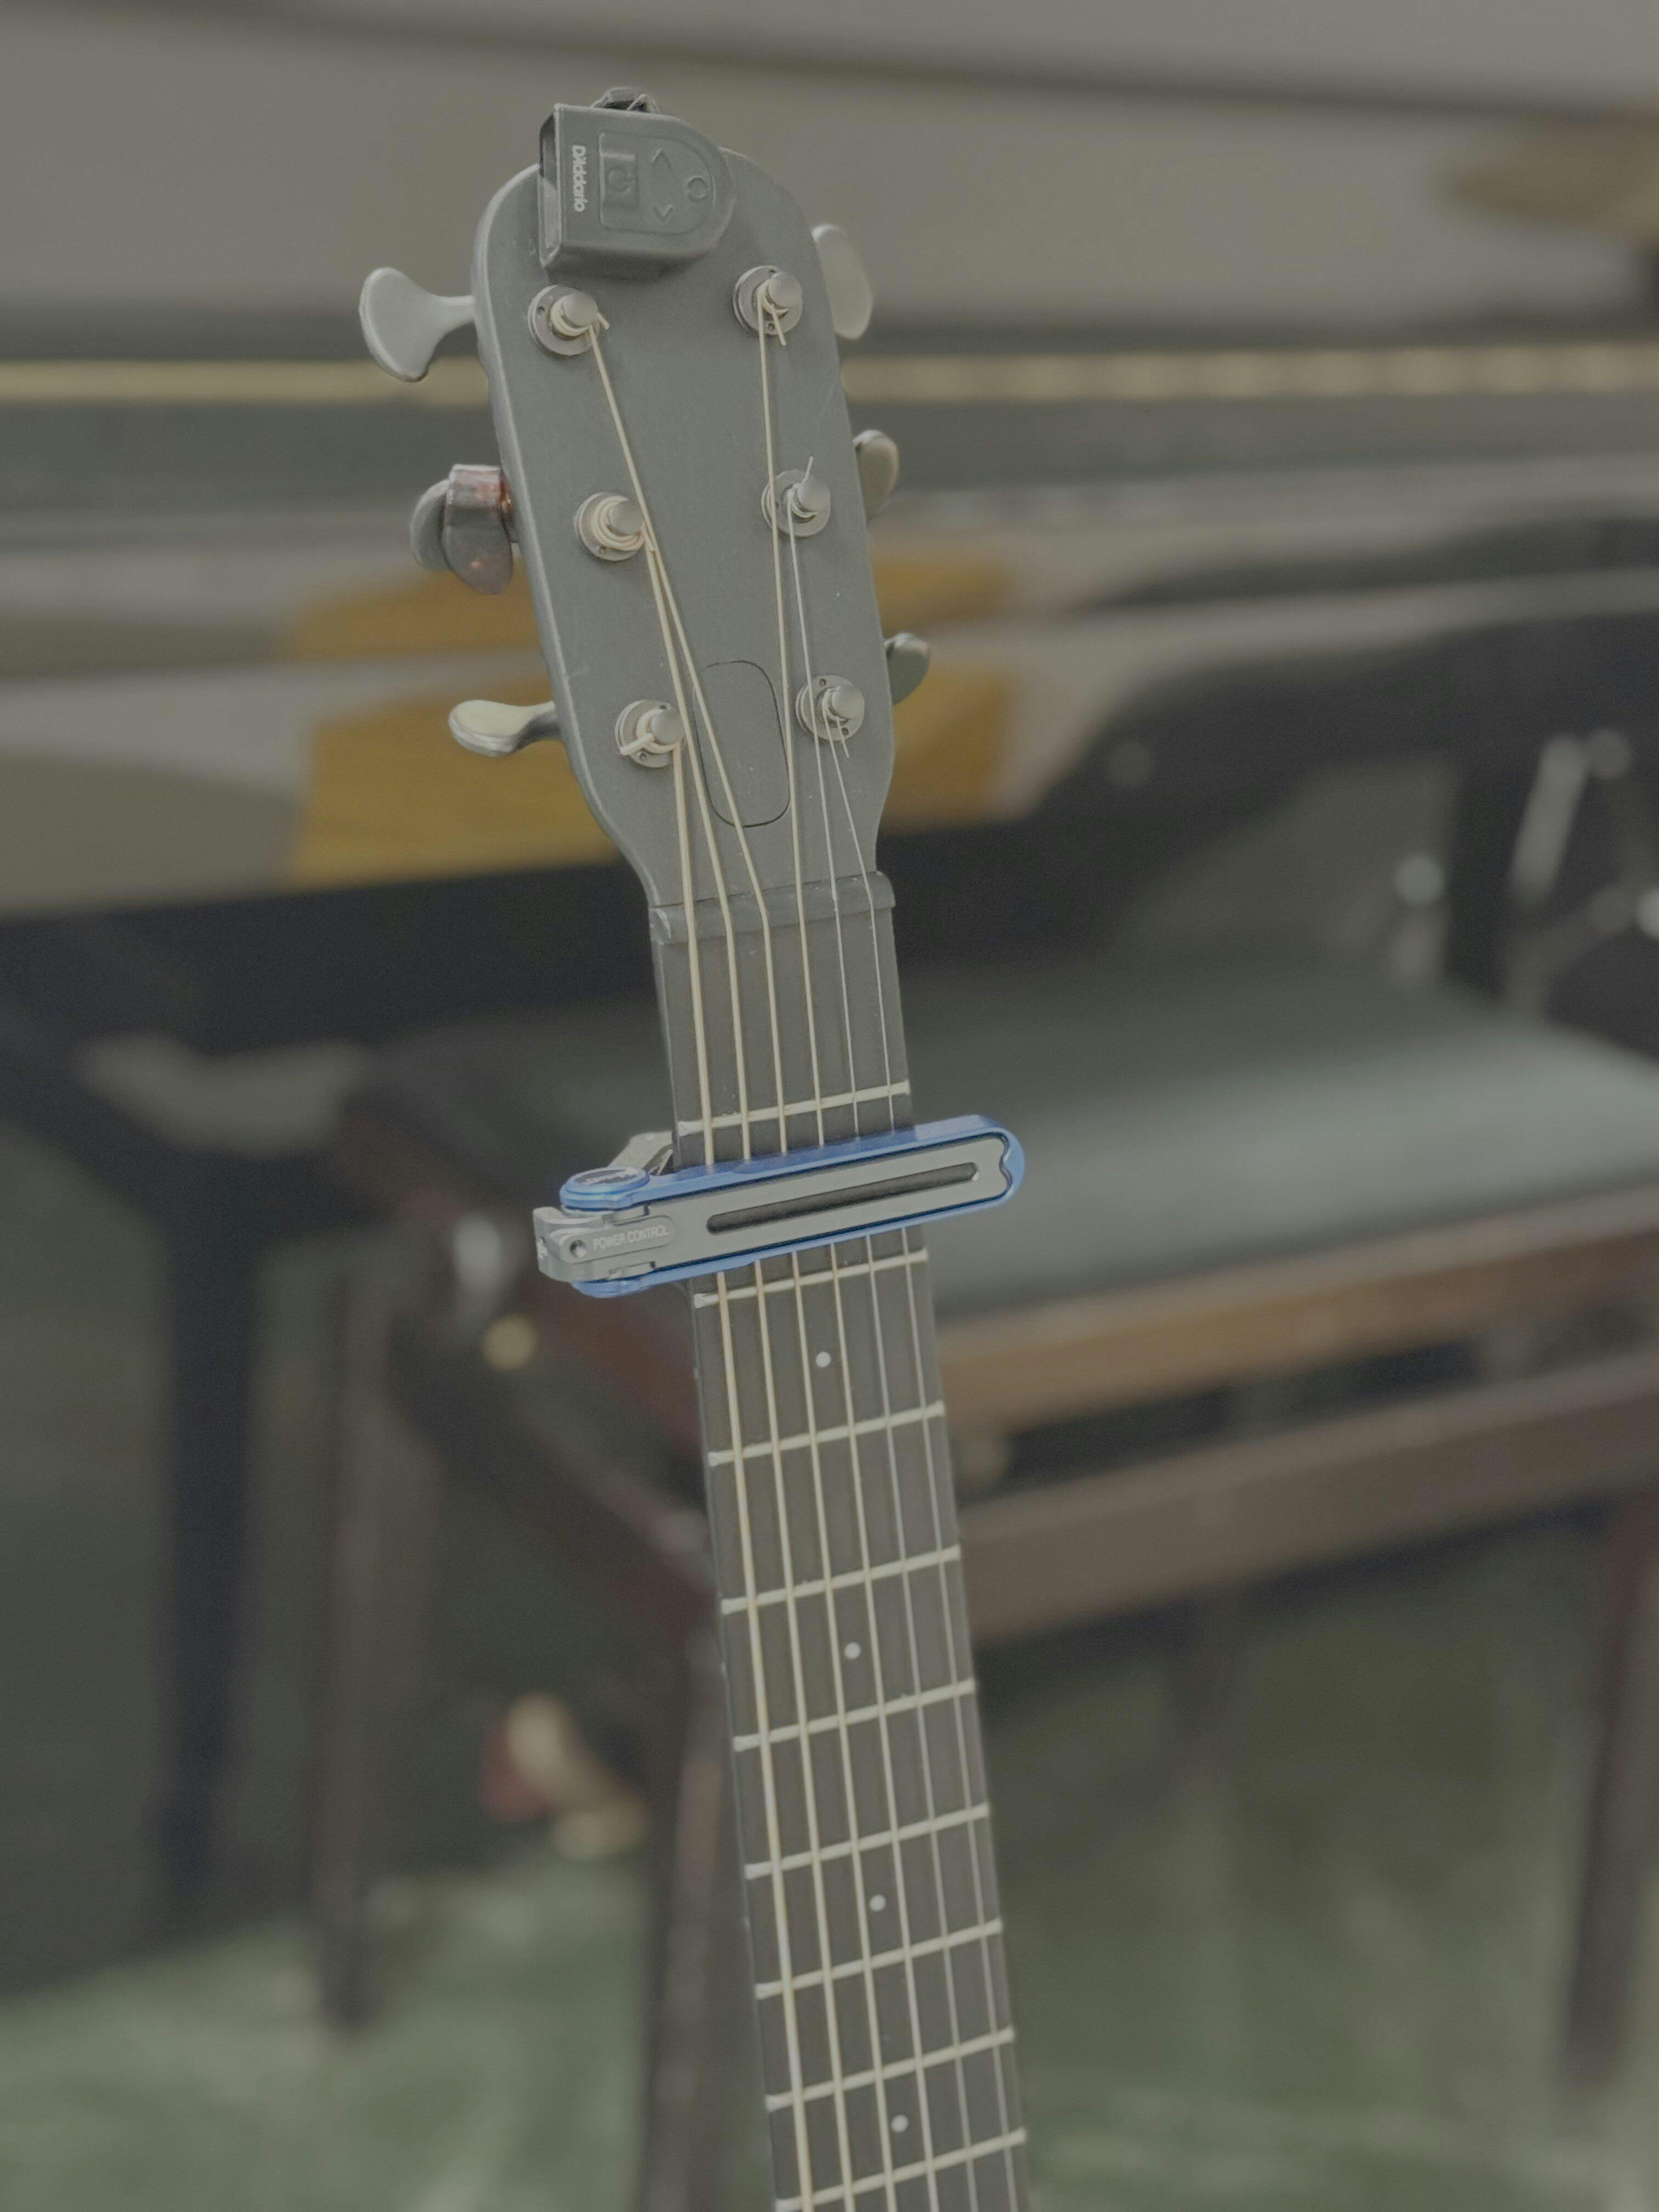
Grab Yours NowNot here to tell you about me, but to be precise as to why I'm very fond of the Jstaff capo.
I play guitar mostly while singing. My professional show requires that I have a large repertoire (around 700 songs) that I can play on demand. And for a significant number of these songs, the transposition in the middle, sometimes more than once, was a problem.
Not anymore.
I purchased a Jstaff capo some three months ago, and have already used it in all my gigs. Yes, instantly adopted.
stable (once correctly adjusted), smooth, reliable. And since I use a carbon-fiber guitar, it even fits the sci-fi look !
Happy to support a brand for such great piece of ingeneering.
I live in Australia. I bought this from China. It arrived within 4 days. This is brilliant service. To compare this with the service in Australia, I am still waiting after 2 weeks for a parcel to arrive that I bought in my own country.
One of the best Capo I've ever used for my acoustics.
It is really as it is advertised, the changing position of capo is so smooth and it doesn't damage the finish of the guitar neck at all. Using both Satin and Gloss necks.
Build quality is superb, feels really premium when holding it. Doesn't feel cheap at all. The design is intricate and really innovative. At first I thought it was a little expensive, but seeing the thing and trying it, I honestly think it's money well spent.
Might get another one if I have extra budget for musical accessories next time.
For customers in Singapore, just to let you know that the item was shipped on Thursday for me and it arrived next Tuesday, which is only 4 working days of shipping time from China to Singapore which is really super quick.
Contact with support staff was really quick, they usually reply in less than a day and they are really responsive with my questions.