Mastering Truss Rod Adjustments on Your Acoustic Guitar
Adjusting the truss rod of your acoustic guitar might seem intimidating, but it's a skill every player should embrace. By understanding how your guitar's neck responds to string tension, you can ensure optimal playability and sound quality. Let's dive into the world of truss rod adjustments and make it less daunting.
Understanding the Truss Rod
The truss rod is a critical component in your guitar's neck, responsible for adjusting its curvature. Essentially, it balances the tension of the strings, allowing you to tweak the neck's bow to suit your playing style. Picture this: a neck can be perfectly straight, slightly bowed, or even have a back bow. The truss rod helps you control these variations.
The basic principle is simple: Loosening the truss rod allows the string tension to introduce more bow into the neck, while tightening it reduces the bow, creating a straighter neck. Think of it as a tug-of-war between the truss rod and the strings, with the goal of achieving the perfect balance for your guitar's neck.
Assessing Neck Relief
Before you begin adjusting, it's crucial to assess the neck relief. This involves checking how much the neck bows under string tension. Here's a straightforward method: hold down the low E string at the first fret and where the neck meets the body. Use a free finger to press down the string in between these points and observe the movement.
If the string has significant movement, your neck has too much relief, indicating a need to tighten the truss rod. Conversely, if there's little to no movement, the neck might be too straight or even back-bowed, requiring a truss rod loosening. The ideal neck relief provides enough room for the strings to vibrate freely without buzzing, ensuring clear notes across the fretboard.
Adjusting the Truss Rod
Now that you've assessed the neck relief, it's time for the adjustment. First, if your guitar has a truss rod cover, remove it using a Philips head screwdriver to access the truss rod nut. Depending on your guitar, the nut might be located at the headstock or inside the sound hole, as seen in many Martin guitars.
Adjusting the truss rod is like turning a screw: righty-tighty, lefty-loosey. Tightening the rod straightens the neck, while loosening it adds bow. Remember, small adjustments go a long way. A quarter turn or less is often sufficient to see results. Always make these adjustments under full string tension, as this reflects the neck’s natural state when played.
Troubleshooting Common Issues
As you play, listen for any buzzing or unusual sounds. These could indicate a need for further truss rod adjustments. If you notice buzzing, double-check the neck relief as described earlier. If adjustments don’t resolve the issue, it might be time to consult a professional luthier.
Beyond the truss rod, other factors can contribute to buzzing, such as high frets or worn-out nuts and saddles. Regular maintenance and proper tool use are essential to keep your guitar in top shape. I've compiled a list of essential DIY tools that I use, which can be found by clicking the link in the description.
Conclusion: Embrace the Adjustment
Adjusting your guitar's truss rod is not as daunting as it seems. With patience and the right approach, you can ensure your guitar plays beautifully. Remember, small adjustments and careful assessment of neck relief are key. Embrace this skill, and your guitar will thank you with improved playability and sound.
For those eager to dive deeper into guitar maintenance, consider exploring resources and tools that can enhance your DIY journey. Happy playing!
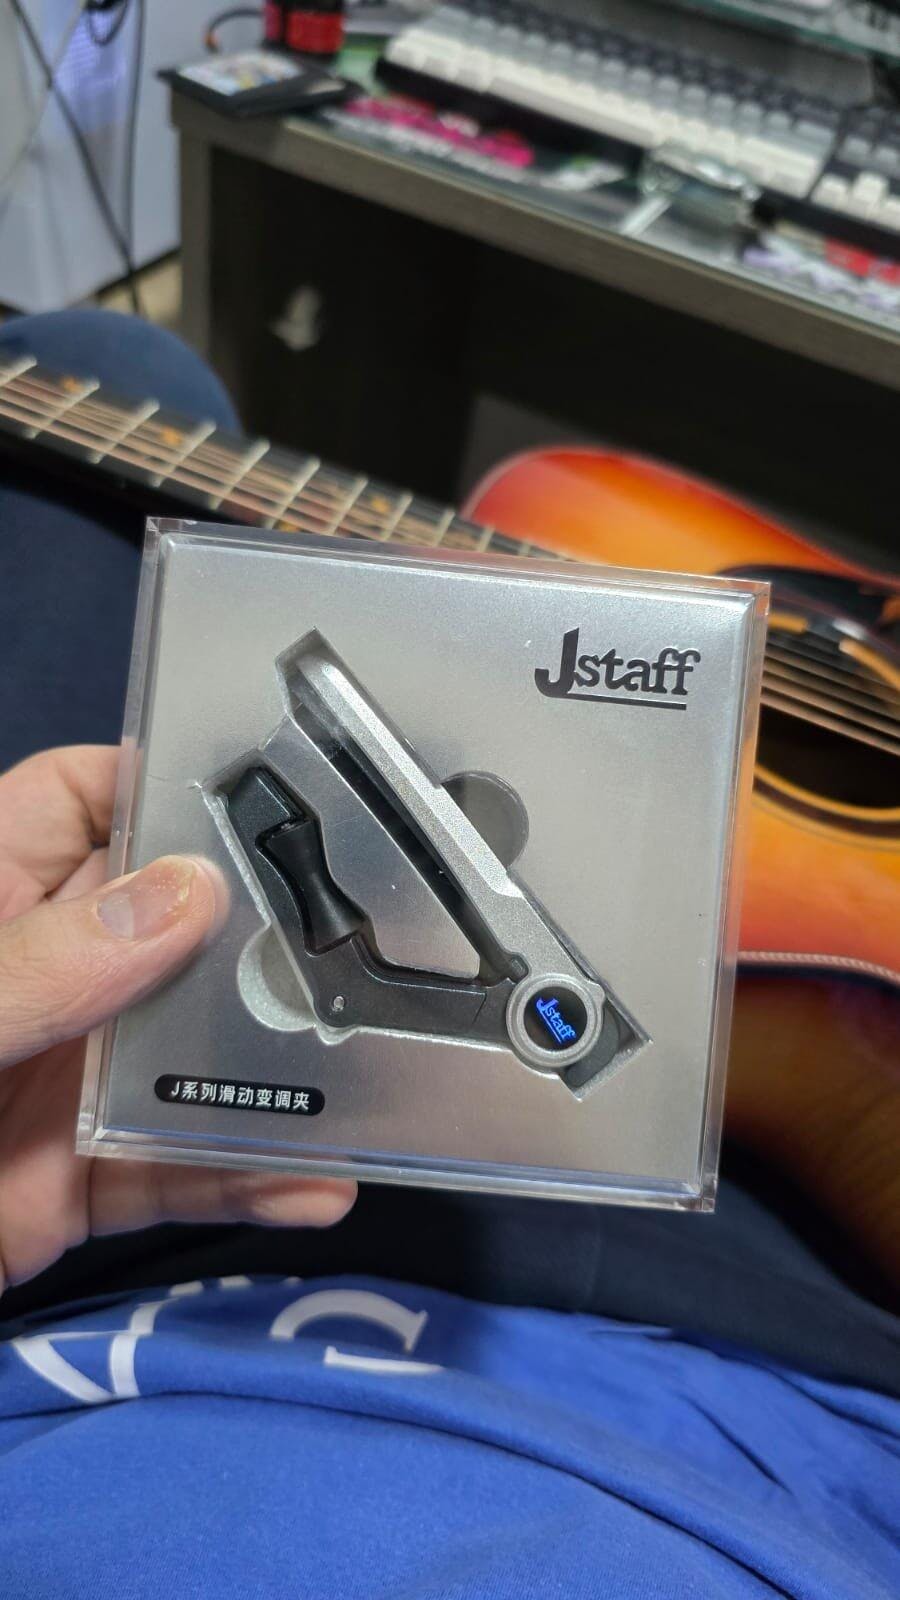
Not here to tell you about me, but to be precise as to why I'm very fond of the Jstaff capo.
I play guitar mostly while singing. My professional show requires that I have a large repertoire (around 700 songs) that I can play on demand. And for a significant number of these songs, the transposition in the middle, sometimes more than once, was a problem.
Not anymore.
I purchased a Jstaff capo some three months ago, and have already used it in all my gigs. Yes, instantly adopted.
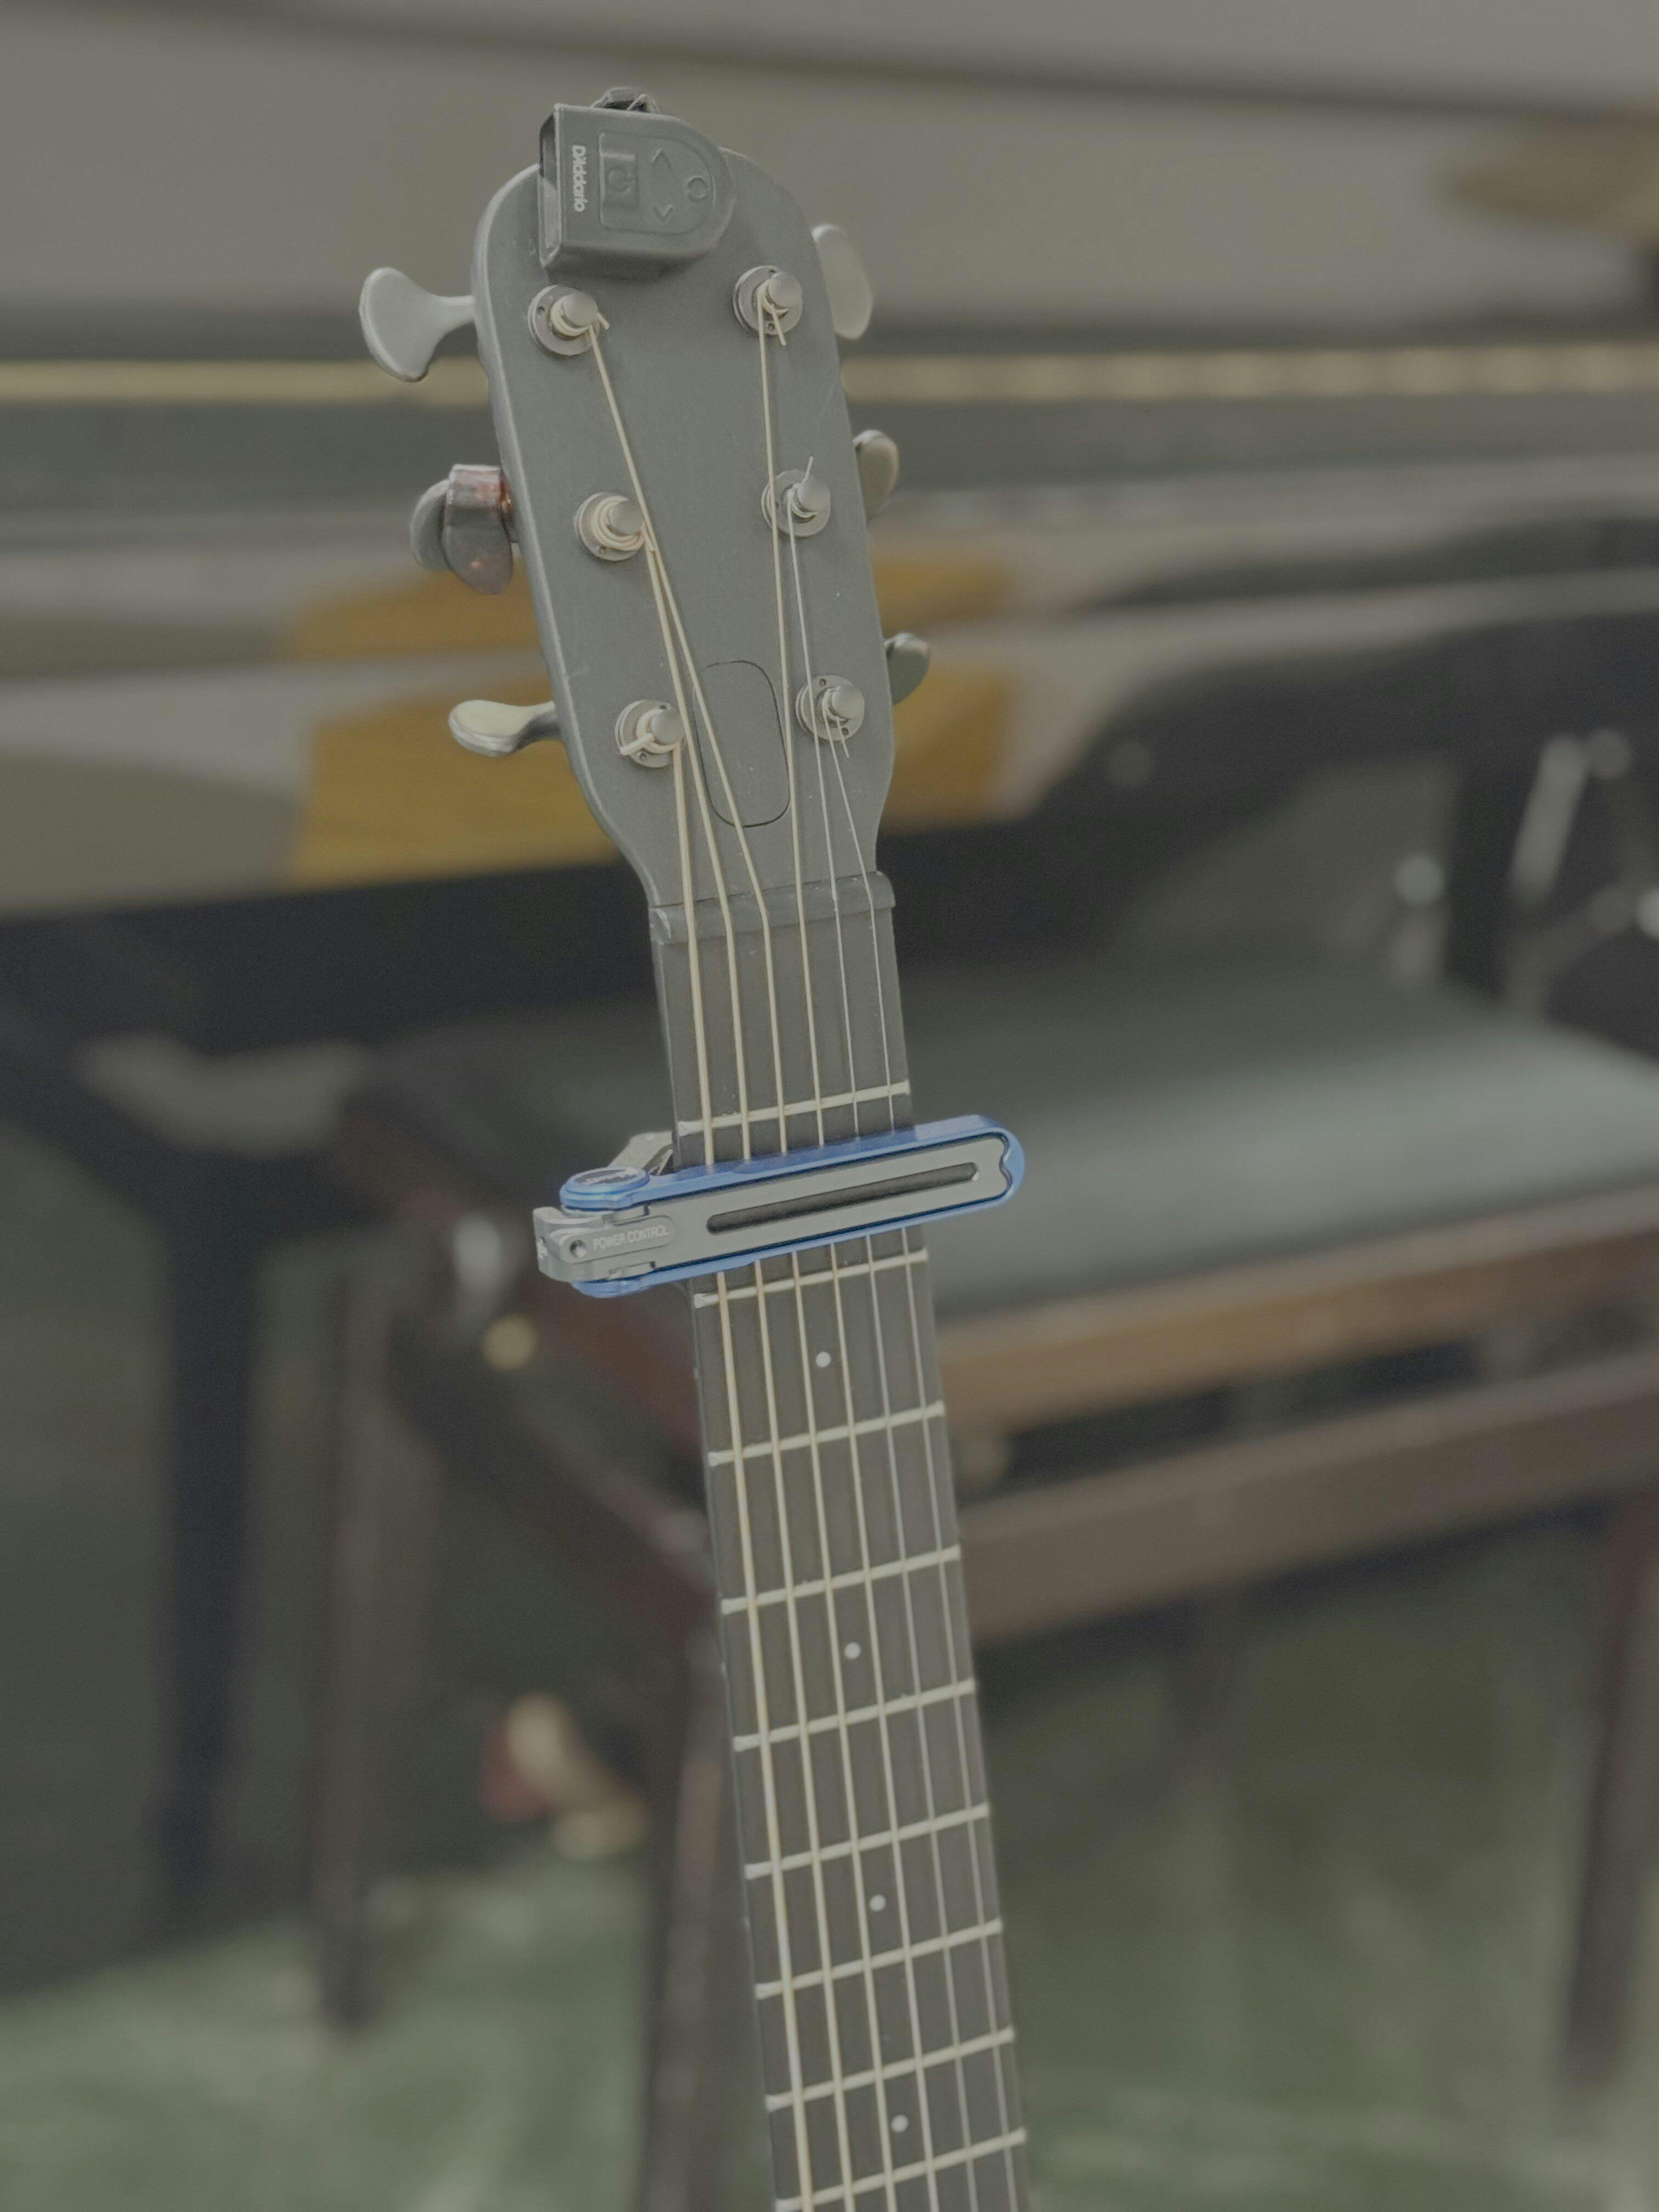
stable (once correctly adjusted), smooth, reliable. And since I use a carbon-fiber guitar, it even fits the sci-fi look !
Happy to support a brand for such great piece of ingeneering.
I live in Australia. I bought this from China. It arrived within 4 days. This is brilliant service. To compare this with the service in Australia, I am still waiting after 2 weeks for a parcel to arrive that I bought in my own country.
One of the best Capo I've ever used for my acoustics.
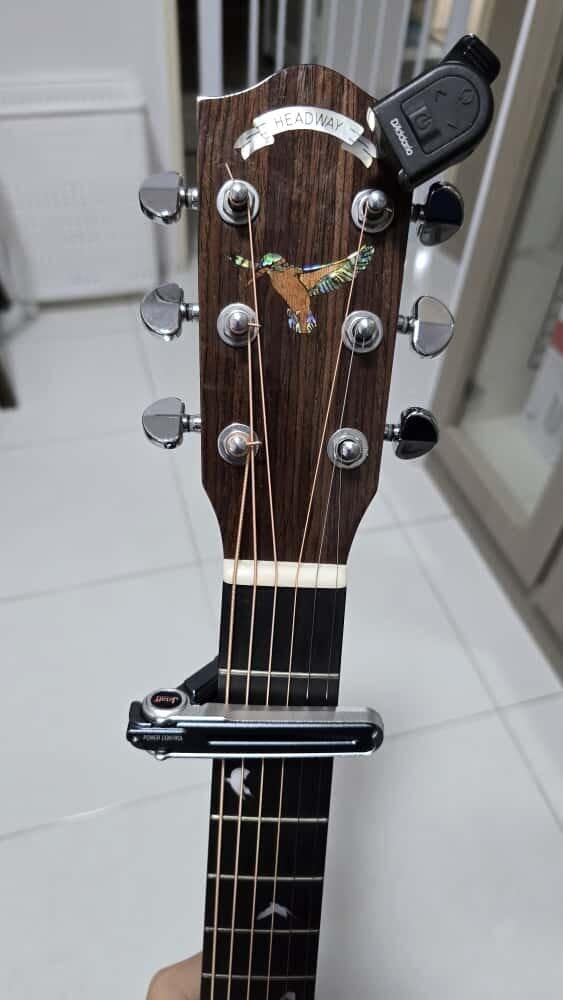
It is really as it is advertised, the changing position of capo is so smooth and it doesn't damage the finish of the guitar neck at all. Using both Satin and Gloss necks.
Build quality is superb, feels really premium when holding it. Doesn't feel cheap at all. The design is intricate and really innovative. At first I thought it was a little expensive, but seeing the thing and trying it, I honestly think it's money well spent.
Might get another one if I have extra budget for musical accessories next time.
For customers in Singapore, just to let you know that the item was shipped on Thursday for me and it arrived next Tuesday, which is only 4 working days of shipping time from China to Singapore which is really super quick.
Contact with support staff was really quick, they usually reply in less than a day and they are really responsive with my questions.